Enhance Your Commercial Property with Expert Drywall Finishing and Installation
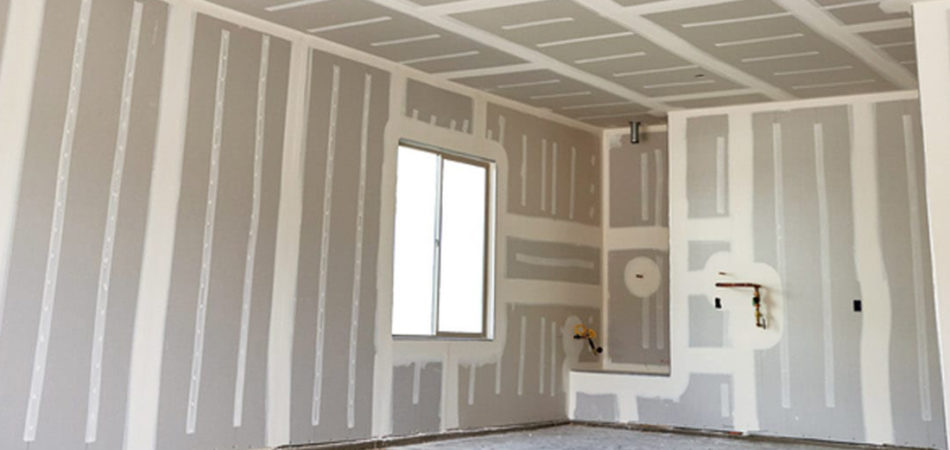
Drywall finishing is defined as the process of preparing unfinished interior drywall panels for painting by applying paper or fiberglass tape over the joints and imperfections between pieces of installed drywall, then covering the taped seams and filling the screw or nail holes with drywall compound. Our process includes spreading a joining compound along each side of two hanging drywall panels and using paper tape to cover the seams between panels, resulting in a uniform surface.
In much simpler terms, the purpose of drywall finishing is to accomplish one goal: to make the joints seams, and imperfections on and between drywall panels disappear. It ensures the walls and ceilings are perfectly smooth so once painted you have a clean, professional finish.
The process of drywall finishing is not hard but takes some finesse. An overview of the steps to the process are as follows:
- Prepare your surface
- Apply your paper tape
- Apply Fiberglass tape
- Finish inside corners
- Finish outside corners and screw or nail heads
- Apply your fill coat
- Apply your finish coat
- Sand the dried compound
6 Levels of Drywall Finish
Drywall finishing is a critical step in the construction process, as it determines the final appearance and quality of the walls. The industry has established six standardized levels of drywall finish, each with its requirements and intended use. Here is a comprehensive overview of these six levels:
Level 0 – Unfinished
- Description: No taping, finishing, or accessories. The drywall boards are simply fastened to the walls or ceiling. This is a temporary, unfinished state.
Level 1 – Fire Taping
- Description: Drywall joint tape is embedded in a joint compound at the seams and angles. No further finishing is done. Provides basic smoke and sound control. Typically used in areas not meant for public view, such as attics, basements, or service corridors.
Level 2 – Minimal Finish
- Description: A joint compound is applied over the tape, and fastener heads are covered. Provides a basic, unfinished appearance suitable for areas not visible to the public, like garages or storage spaces.
Level 3 – Texture Ready
- Description: Tape is embedded and an additional coat of joint compound is applied over the joints and fasteners. Provides a smooth surface suitable for heavy textures, such as knockdown or spray-applied finishes. Recommended for walls that will receive medium to heavy textures before painting.
Level 4 – Standard Finish
- Description: Tape is embedded and two coats of joint compound are applied over joints, with three coats over fasteners. Provides a smooth surface suitable for flat paints and light textures. This is the classic drywall finish typically used for painted walls or those covered in wallpaper.
Level 5 – Smooth Finish
- Description: Includes all Level 4 steps plus an additional skim coat of joint compound across the entire surface. Provides an ultra-smooth finish ideal for glossy paints, critical lighting conditions, and high-sheen applications. This is the highest quality finish and the most effective method to minimize joint photographing and fastener visibility.
The cost for each level varies depending on material costs, labor rates, and regional differences. Generally, higher levels require more time and expertise, resulting in higher overall costs. Homeowners and contractors should consider the intended use and aesthetic goals when selecting the appropriate drywall finish level for a project.
Drywall Installation (upon request)
If requested, we can install drywall and give it a nice, clean finish in your home or business.
Get flawless drywall finishing for your home or business with JMA Painters. Request drywall services from JMA Painters today.