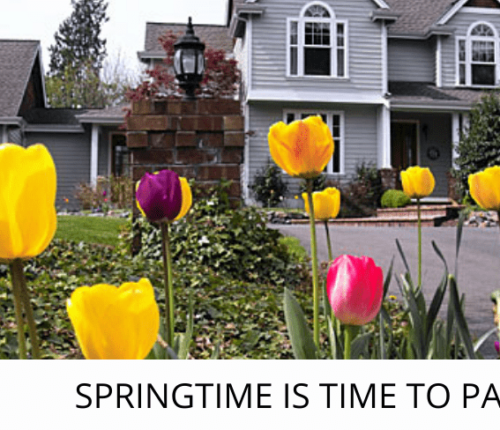

Sales at your local home improvement shops are through the roof with everyone completing their “honey-do lists” through the COVID-19 pandemic. If you are one of the many that picked up home transformation projects out of boredom or simply stared at the walls long enough to find all the flaws, you are not alone!
Interior and Exterior repaint jobs for both commercial and residential are among the list of these COVID pandemic DIY projects. If you got started and are not sure how to finish, or if you simply need some professional tips on your exterior repaint, look no further! Below are some of our tips to keep your project going smooth.
 Do not underestimate the power of planning! Just as you should lay a foundation before you build, you should carefully plan out your exterior repaint project prior to getting started. One of our motto is that failure to plan is planning to fail! Your first step should be to determine the full scope of the work.
Oftentimes repainting a room will end up involving a lot more than slapping some paint on the walls. You should consider the size of the space, tools needed to effectively finish the job, and the amount of prep work required. Failure to address prep work and imperfections such as cracks or peeling areas on the existing coat could lead to a large waste of money as the new paint coat will be too heavy and can pull the old paint loose.
Wipe down walls, sand where needed, remove grease stains as best as possible and prepare the surface will be ready for paint. Other prep work tips include but are not limited to:
If you live in Louisiana, you understand humidity! Be sure to take into consideration what time of year it is when starting your project. The best temperatures to apply new paint is between 50 and 90 degrees with no rain expected for at least 24 hours after application.
Louisiana highs and humidity do not provide the best paint conditions so at minimum, check the weather forecasts and avoid painting near chances of rain. If indoors, it’s a bit easier to manage humidity levels than with exterior painting.
Consider humidity level reading tools to see the exact humidity level of the room you are working in and if temperatures are higher than the recommended levels (40-50%), consider a dehumidifier to avoid complications with your paint. Some other tips to painting in high humidity include:
Proper preparation ensures the longevity and quality of your paint job:
Remove dirt, mildew, and loose paint using a pressure washer or scrub brush. Clean surfaces ensure better paint adhesion and a smoother finish.
Fill in cracks, holes, and gaps with caulk or filler. Replace any damaged siding, trim, or other materials to create a solid base for painting.
Cover plants, windows, doors, and other areas you don’t want to be painted with drop cloths or plastic sheeting. Use painter’s tape to mask off edges and details for clean lines.
 Selecting the appropriate paint is vital for a durable and attractive finish:
Invest in high-quality exterior paint that can withstand weather conditions. Consider paints with built-in primers for better coverage and durability.
Decide on a paint finish that suits your needs. Flat and matte finishes hide imperfections but can be harder to clean, while semi-gloss and gloss finishes are more durable and easier to clean.
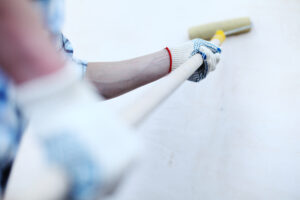
When it comes to home improvement, you are only as good as your equipment! It is important to not only have appropriate tools, brushes, and paint for the job, but to know how to appropriately use those tools.
There are different brushes and rollers for different textures and surfaces and even paint types. When dealing with drywall for ceilings a ⅜” nap will provide the best coverage while dealing with wood or walls a ¼” nap will provide the smoothest finishes.
Don’t let price be the determining factor when selecting your brushes as you truly get what you pay for when it comes to paint supplies. While a brush may be more expensive, it could minimize the amount of paint you actually need thus saving you costs on the overall project.
Procedures are not complex but they are important. Professional painters will start with the trim, then the ceiling and save those walls for last. It is easier and faster to tape off the trim than it is to tape off the walls so this is simply a time saving factor.
Once you get to the walls, start at the top and work your way to the bottom. This prevents any drip on your work and allows you to cover mistakes as you work downward. Avoid touch ups during your application process; going over spots can leave streaks and spots noticeable to the eye.
When tackling your paint project know the scope and know your abilities and limits. If you don’t know where to start on your exterior repaint or if you simply got started and realized it was too big of a task to complete, don’t hesitate to call in for back up! JMA Painters is happy to help with any and all of your residential and commercial painting needs.